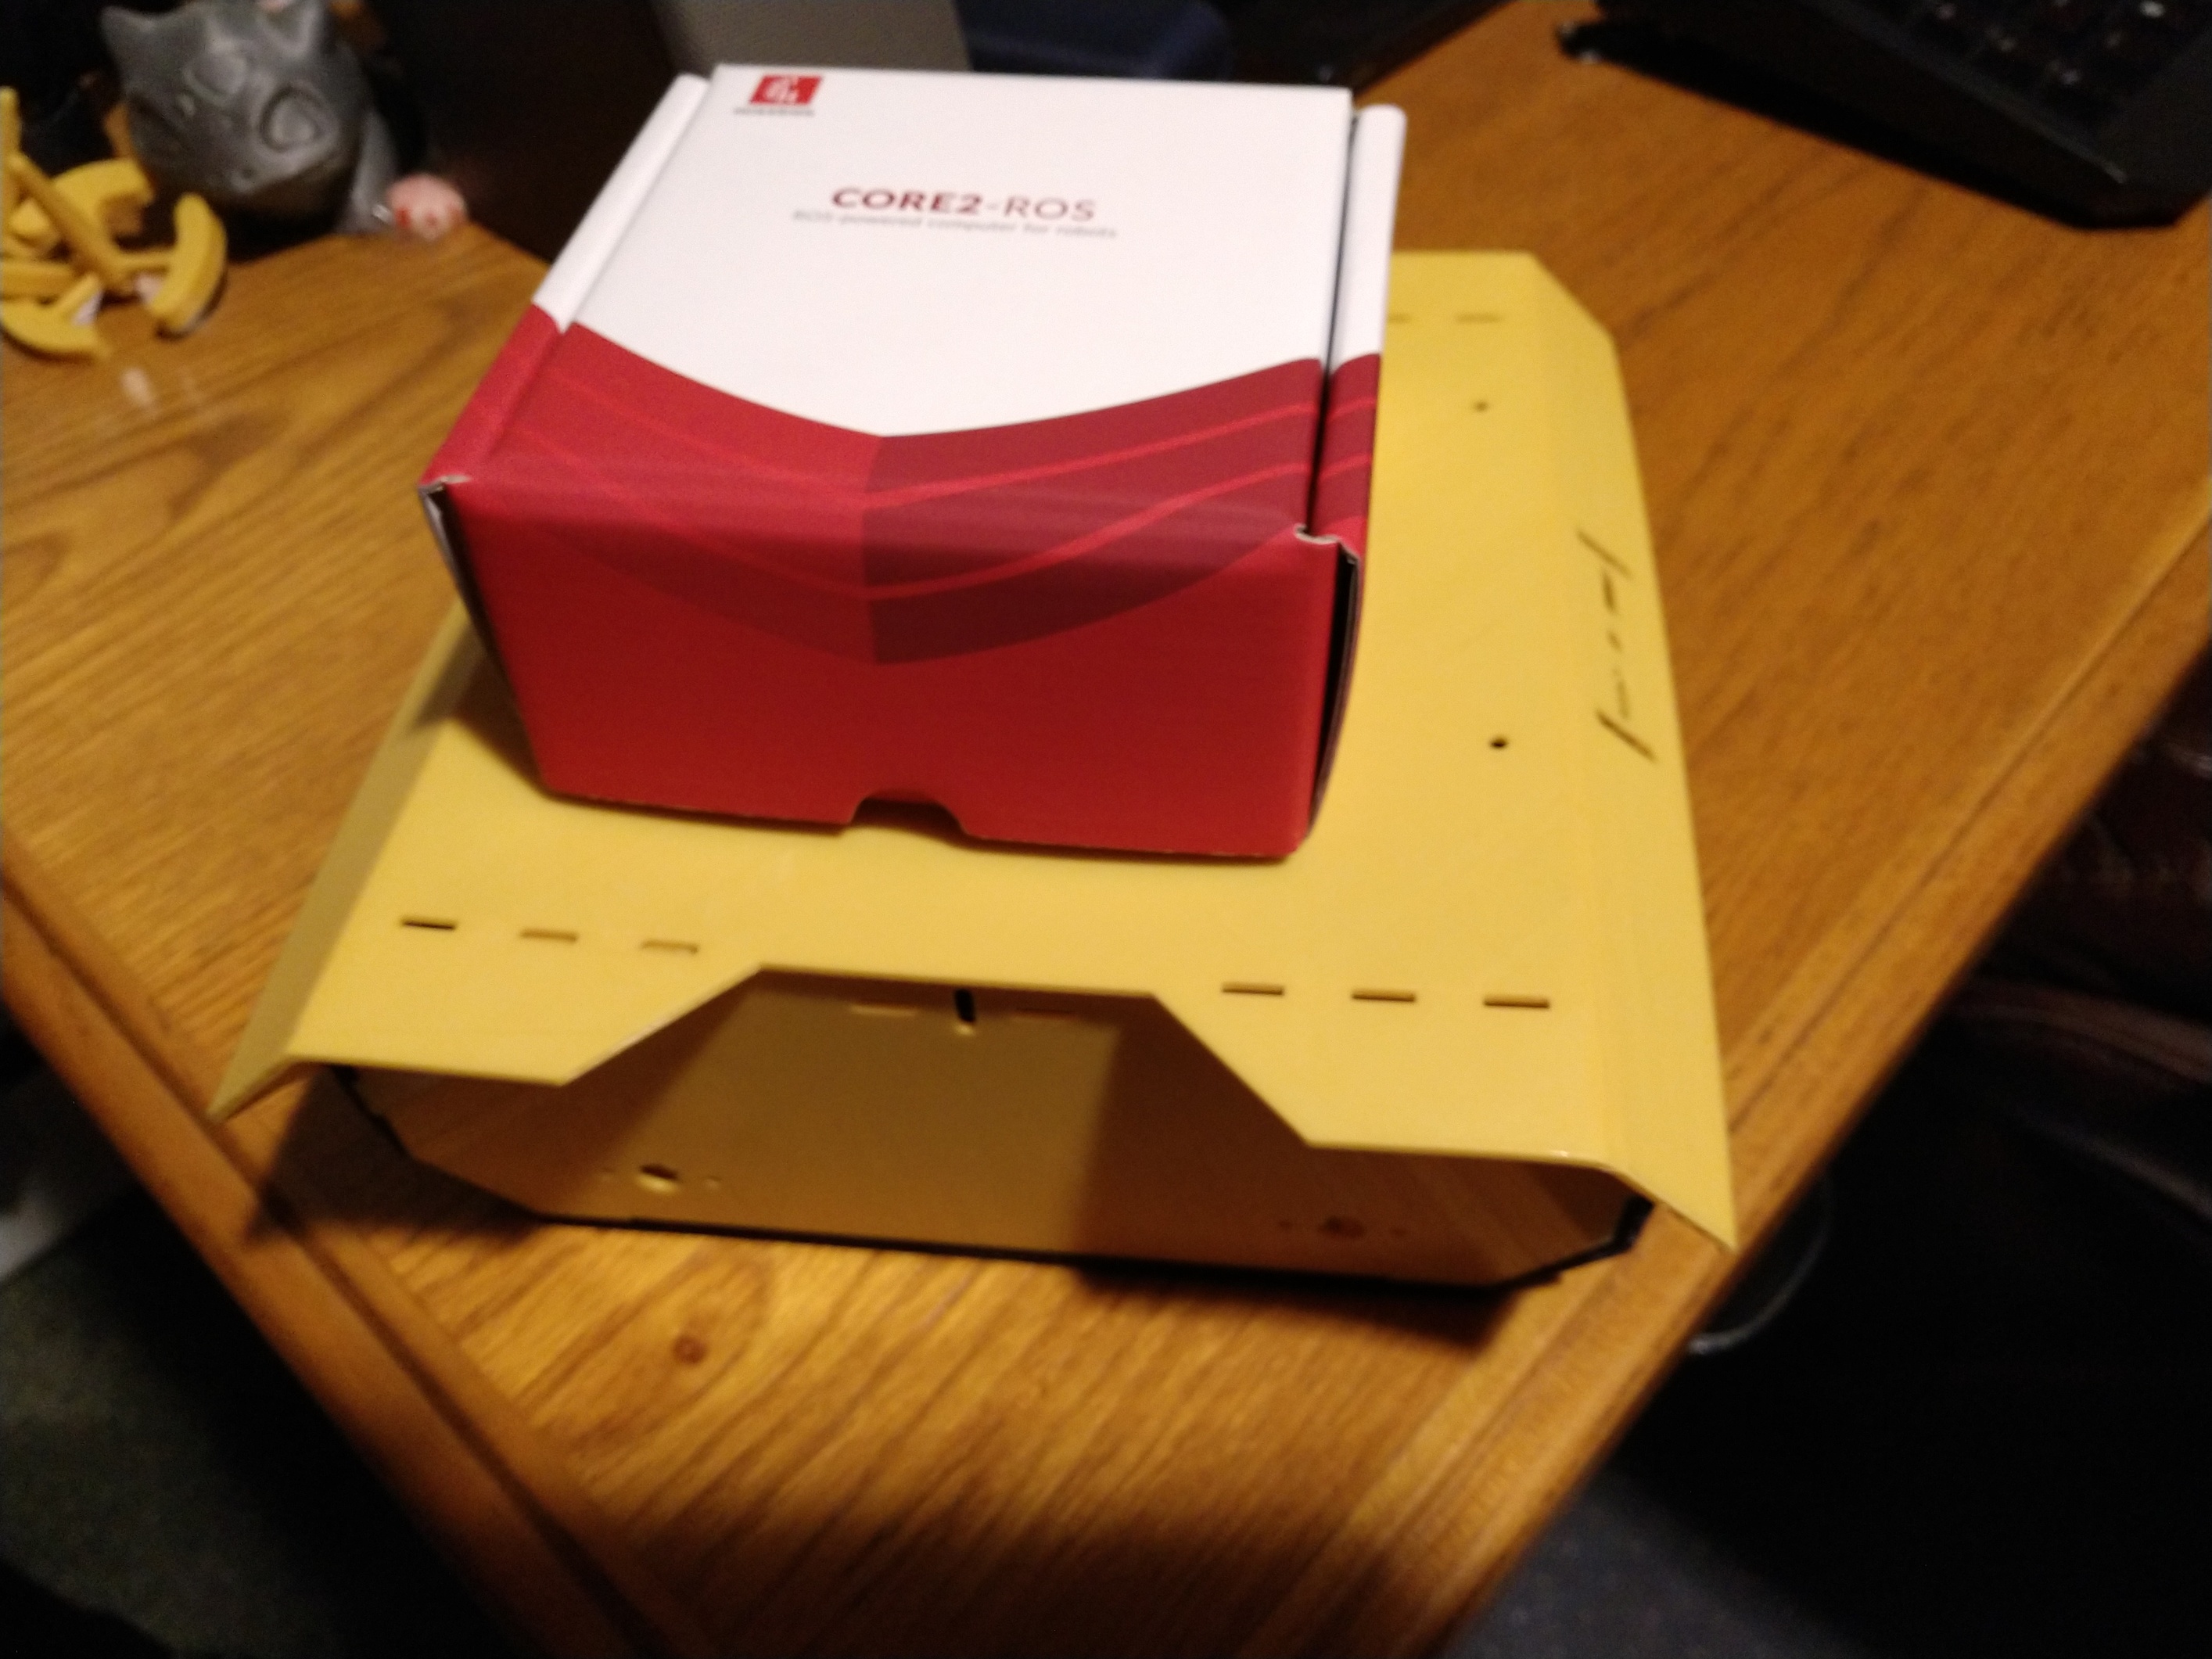
I ordered my motors with encoders and infrared sensors today from Pololu. I am printing the top panel for the rosbot today. Side and center panels tomorrow, and the bottom panel next Saturday. My Core2-ROS is on the way … It’s outsideof Poland but I have not been able to track it. Hopefully it arrives in Massachusetts soon. I’m gathering my components and printing out the Rosbot chassis now. I ordered the motors w/encoders and the Sharp Distance sensors from Polulu. I ordered the IMU from Sparkfun.
I am trying the source the proper connectors.
I attached an image of the top panel printing… I started it at 9am. It won’t be done until 2am. I am printing at fine resolution though.

I was testing the Robo R1 here. I wanted to see how well the printer prints up the Z axis and for testing I used no supports. As you can see from this print, I would need supports to successfully bridge across larger openings. I ended up canceling the print. For the final V1 print I rotated the stl to lay the largest surface area flat on the bed. I also heated the bed up to 62C. No warping. The extruder was set to 212C.
I found that when printing at higher temperatures The result is higher tinsel strength.
Once I have a working bot where I can write code and test I will begin to modify the Rosbot STL. I plan to make the panels 2x thicker and add embedded structural support ribs that will be 4x thicker than the original panel. For now the print is plenty strong enough to test code.